From Design Sketch to Mass Production: How Is a Streetwear Garment Created from Scratch?
- Share
- Issue Time
- Sep 16,2026
Summary
How is a streetwear garment created from scratch?
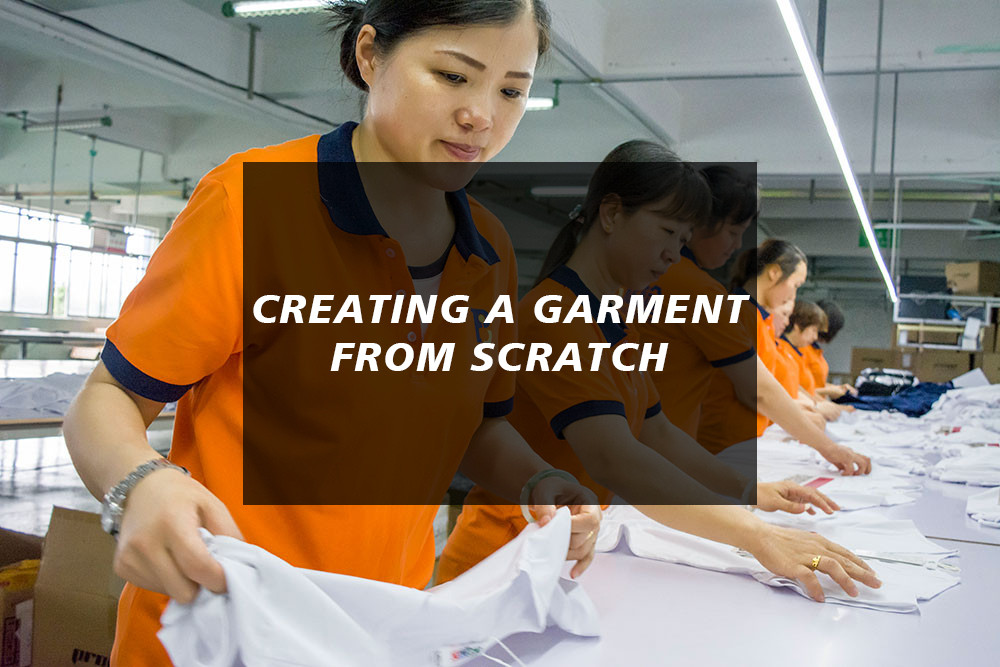
Many brand founders face a common frustration: their designs look beautiful on paper, yet the prototyping stage is fraught with obstacles—the result looks nothing like what was envisioned, endless revisions drag on for months, or the factory simply fails to grasp the intended concept.
The problem often lies not in the design itself, but in a lack of understanding regarding the prototyping process. Transforming a garment from a sketch into a retail-ready product involves a series of interconnected steps. This article breaks down the entire process, enabling you to collaborate efficiently with the factory during development and avoid unnecessary pitfalls.
1. Requirements Communication: Translating "feelings" into "specifications."
The communication that takes place before prototyping begins determines the direction of the entire project. While the designer might envision "a vintage-style, distressed sweatshirt," the factory requires specific specifications: fabric weight, fit and dimensions, production techniques, color requirements, and target price.
It is best to provide the following during discussions:
- Design sketches or reference images (the clearer, the better; detailed close-ups are ideal)
- Fabric requirements (composition, weight, or actual fabric swatches)
- Fit reference (oversized, slim, drop-shoulder; a sample of a similar style is best)
- List of techniques (printing, embroidery, washing, rhinestone application, etc.)
- Target retail price (used to work backward and determine the allowable cost structure)
2 Pattern Making: The Soul of the Pattern
The paper pattern serves as the "skeleton" of a garment, determining its silhouette and how comfortable it feels when worn.
Pattern makers draft the pattern based on your specified measurements and then create a prototype using muslin (unbleached cotton fabric) for a fitting test. They adjust key dimensions—such as shoulder width, chest circumference, garment length, and armhole size—during this stage. This step relies heavily on the pattern maker's expertise; even with identical measurements, the quality and feel of the resulting pattern can vary significantly depending on the maker's experience.
The brand's role involves confirming the style and fit (such as the degree of looseness, the extent of the dropped shoulder, and length proportions) and, if necessary, providing a reference garment for the factory to deconstruct and analyze.
3. Confirmation of Fabrics and Accessories: The Foundation Determines the Upper Limit
Fabric is the most indispensable part of proofing. In order to save money, many brands randomly use a piece of similar fabric when making samples. As a result, the color, feel, and drape of the large-scale products have changed with real fabrics, which is equivalent to wasting money.
Correct approach: During the proofing stage, lock in the fabrics to be used for bulk goods, make fabric confirmation samples (color card + feel samples) first, confirm that the color, weight, and composition are all correct before proceeding with sample production.
The same goes for auxiliary materials: zippers, buttons, webbing, washable labels, and hang tags must be determined in advance to avoid temporary material changes during large quantities that affect the overall texture.
4 Sample Garment Sewing: From 2D to 3D
Once the fabric is approved, the cutter cuts the pieces according to the pattern, and the sewing team begins assembly. A single sweatshirt typically undergoes dozens of steps: joining the shoulders, attaching the sleeves and collar, stitching the side seams, constructing pockets, topstitching, attaching the ribbing, and more.
This stage truly tests the skill of the factory's sewing team. Details such as straight stitching, uniform seam allowances, and precise ribbing alignment directly determine the "refinement" of the finished garment. This is precisely where the difference in quality between a large-scale manufacturer and a small workshop becomes apparent for the same style of clothing.
5. Craftsmanship: Printing, embroidery, and washing treatments give the garments "soul."
Once the basic prototype is complete, the focus shifts to the stage streetwear brands care about most: the finishing techniques.
- Printing: Select the technique (digital, screen, or heat transfer) based on the design's complexity and the fabric; produce a small print sample first to verify color and hand-feel.
- Embroidery: Confirm the stitch type, density, and thread color; for 3D embroidery, ensure a foam underlay is included.
- Washing: Options include stone wash, acid wash, gradient wash, etc.; create a small wash sample first to check the distressed effect and hand-feel.
- Rhinestones/Studs: Confirm placement and attachment security.
Note: Always approve the finishing samples separately. Do not wait until the full prototype is finished to discover incorrect print colors or unsatisfactory wash effects—rework costs are high.
6. Sample Review: Revisions made until satisfaction is achieved.
Once the sample garment is produced, it undergoes a review process. Upon receiving the sample, the brand focuses its inspection on the following areas:
1. Fit:Whether the garment looks as intended when worn, and whether the proportions of the shoulders, chest, and length are balanced.
2. Craftsmanship: Print clarity, embroidery smoothness, wash effects, and the secure attachment of trims and accessories.
3. Details:Stitching, alignment, loose threads, and dimensional measurements (checked against the size chart).
Any issues identified are compiled into a list of required modifications, and the factory produces a revised sample. Typically, a garment requires two to three rounds of revisions to be finalized, though complex styles may require more.
VII. Confirmation of Quotation and Bulk Production: Signing and Sealing the Sample
Once the sample is approved, the factory calculates the bulk production quote based on the fabric, craftsmanship, and accessories. After both parties agree on the price, delivery schedule, and payment terms, a "sealed sample" is established—serving as the benchmark for inspecting the final bulk goods.
Before mass production begins, a reliable factory will produce a pre-production sample—using the actual bulk fabrics and the standard production line—to further verify process stability and prevent costly failures during the main production run.
3 Key Recommendations for Brands
1. Invest more time in the prototyping stage to avoid wasting money during mass production. All issues should be identified and resolved during prototyping; discovering problems only after mass production begins results in losses involving hundreds or thousands of units.
2. Keep a record of all communications. Confirm every revision request with both text and images to prevent misunderstandings where parties interpret instructions differently. The more detailed the revision list, the fewer rounds of rework required.
3. Choose a "full-process" factory to minimize coordination inefficiencies. When pattern making, cutting, sewing, printing, and washing are all handled under one roof, communication channels are streamlined, accountability is clear, and delivery schedules are easier to control; conversely, splitting tasks among multiple subcontractors means that a failure at any single stage can derail the entire project.